
DOWNLOAD
Mac
Install VPNclient, the free app from our VPN supplier, on your Mac. You download a disk image, move the app into Applications, answer the macOS prompts, sign in and connect.
Only download from this link or your device's app store.

Our VPN supplier has confirmed its free VPNclient app for this device. Sign in with the VPN username and password from My Pass.
Before you start
An active pass. Open My Pass and check it shows days remaining.
Your VPN username and password from My Pass. They are not your XPASS website email.
Your Mac login password. macOS asks for it when an app adds network settings.
Quit any other VPN app first. Two VPNs at once usually stop each other from working.
Install and connect
Step 1
Download the disk image
Use the download button above to save vpnclient.dmg. Use this file rather than the App Store listing, which is built for iPad. Only download from the official link.
Step 2
Move the app to Applications
Double-click vpnclient.dmg, then drag the VPNclient icon into the Applications folder. When it finishes, eject the disk image.
Step 3
Open the app and approve the prompts
Open VPNclient from Applications. If macOS says the app was downloaded from the internet, choose Open, but only for the file from the official link. If macOS blocks it, open System Settings, then Privacy & Security, and choose Open Anyway. When you first connect, macOS may ask to allow VPN configurations: approve with your Mac password or Touch ID.
Step 4
Sign in
Open My Pass in your browser, copy your username and paste it into the app, then do the same with your password. There is no sign-up inside the app.
Step 5
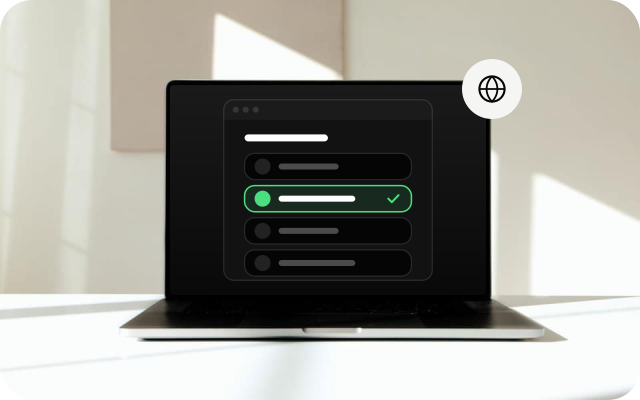
Choose a location
If the app shows a list of locations, pick one. If you are not sure, keep the app's default.
Step 6
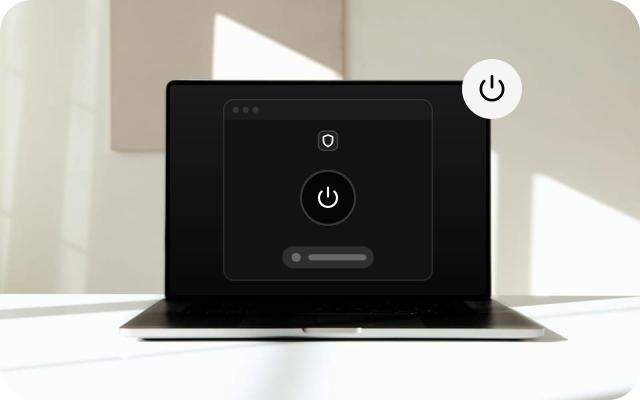
Connect
Click the connect button and wait until the app shows you are connected. Keep the other settings at their defaults unless our support team asks you to change them.
Check it works
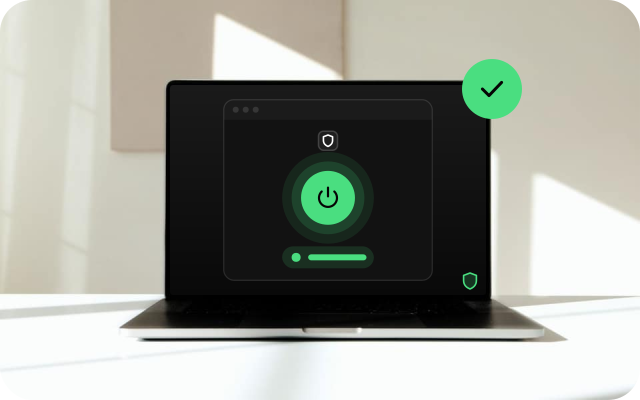
- With the VPN off, search for "what is my IP" in your browser and note the address. Connect, reload the page and compare. The address should be different.
- Open a few websites you use every day to confirm they load.
- If a site behaves strangely, clear the browser cache or try a private window.
If something goes wrong
- macOS will not open the app. Check that the file came from the official link, then use Open Anyway in Privacy & Security.
- The connection is blocked. Approve the VPN configuration prompt with your Mac password. If you dismissed it, quit and reopen the app and connect again.
- Sign-in fails. Copy the username and password from My Pass again and check for a space at the start or end. Confirm your pass is still active.
- Connected but nothing loads. Disconnect, restart the Mac and connect again. Try another location if the app offers a list.
- Another VPN is running. Quit other VPN apps, including work VPNs, then connect again.
Other devices
Choose another device to see its install guide.