
How to Set Up a VPN on Raspberry Pi
A Raspberry Pi can be a VPN client, a gateway for the devices on your network, or a server. This guide helps you choose the role, prepare the board, and test the result.
10 min readUpdated Oct 15, 2026By XPASS Editorial Team
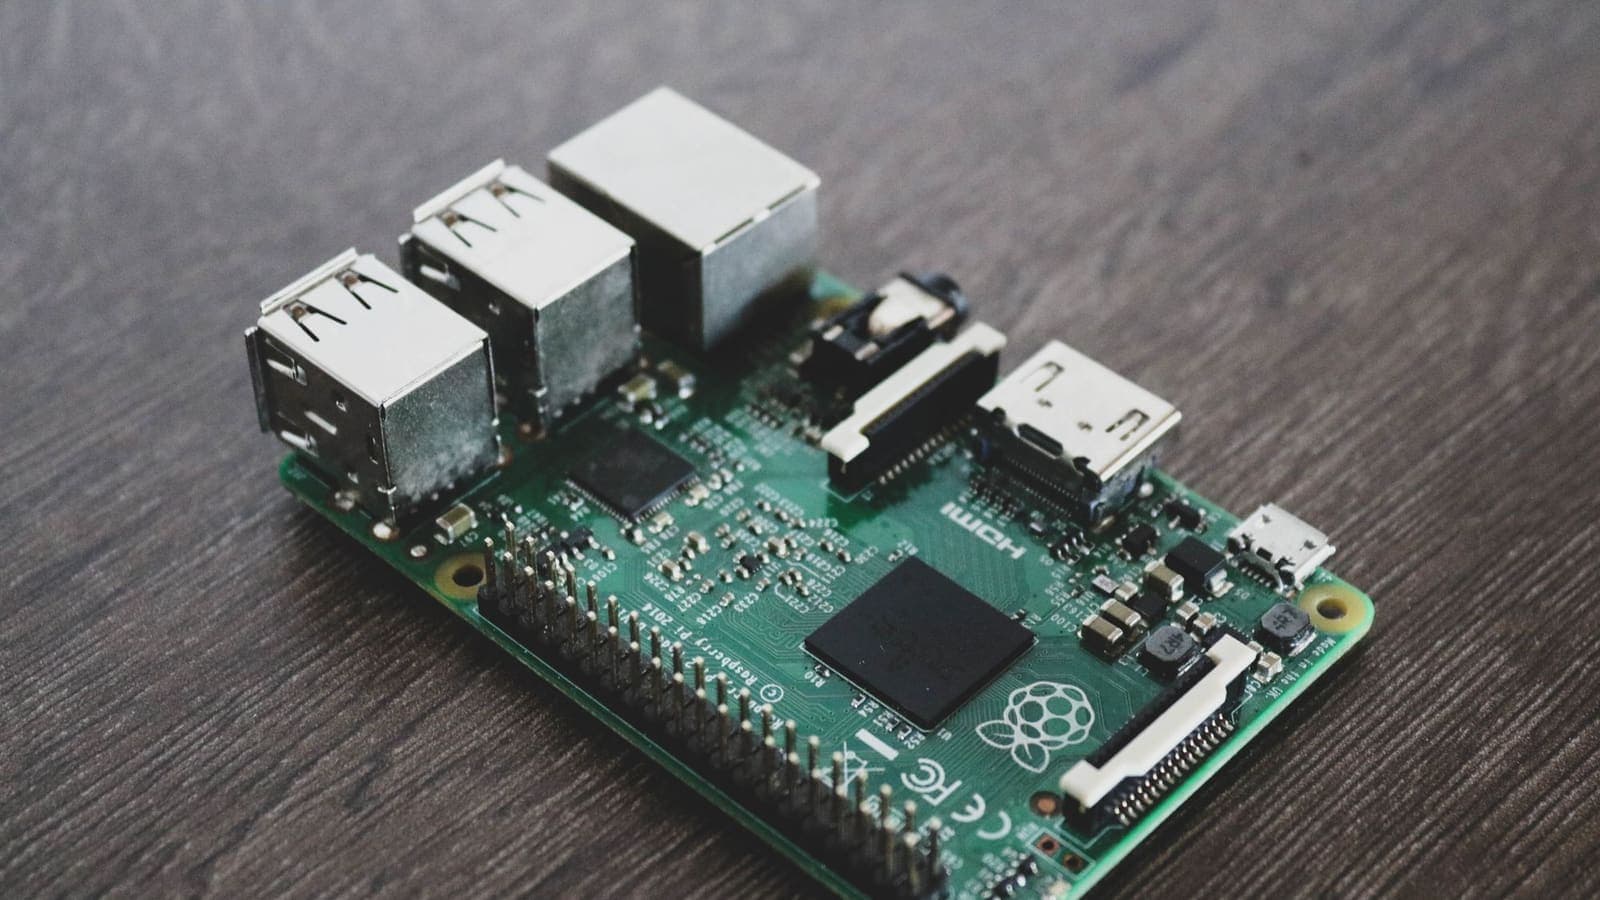
The Raspberry Pi is a small, cheap, low-power computer that runs Linux, which makes it a favourite for projects that need to stay switched on all day. A VPN is a natural fit: a quiet box under the TV or beside the router that protects traffic without anyone needing to touch it. The catch is that "VPN on Raspberry Pi" can mean three different things, and the right choice depends on what you are trying to protect.
This guide walks through the choice, the preparation, a working gateway setup and the checks that prove it is doing its job. It deliberately stays general because connection methods differ between VPN services. Always follow the setup details given by your own provider for the tunnel itself. If you are comparing a box like this with other approaches, VPN router versus VPN app is worth reading first.
Three roles a Raspberry Pi can play
Decide on the role before you install anything, because each needs different software and different risks.
| Role | What the Pi does | Who it suits | Effort |
|---|---|---|---|
| Client | Connects itself to a VPN so the Pi's own traffic is protected | Someone running a download box, media server or small automation on the Pi | Low |
| Gateway | Connects to a VPN and forwards other devices' traffic through it | A household that wants a fixed set of devices, such as a TV or game console, to use the tunnel | Medium |
| Server | Accepts connections from your own phone and laptop so you can reach home from outside | Someone who wants a self-hosted tunnel to their home network | Higher |
The first two use a VPN service somebody else runs. The third means you run the other end yourself, which brings responsibilities for updates, firewalls and a reachable address; it is covered in the comparison of self-hosted and commercial VPNs. This article focuses on the client and gateway roles.

Prepare the Raspberry Pi
A tunnel on a badly prepared board is a source of frustration, so spend ten minutes on the basics.
- Install a current 64-bit Raspberry Pi OS Lite if your model supports it. The Lite image has no desktop, uses less memory and is ideal for a service box.
- Enable SSH and set a strong password or key in the imager's advanced options before first boot. Disable password login later once keys work.
- Use Ethernet if the Pi is a gateway. Wi-Fi sharing the same radio for upstream and downstream traffic is slow and fragile.
- Give it a fixed address on your home network, using either a DHCP reservation in the router or a static configuration. Other devices must know where to find a gateway.
- Update everything. Run
sudo apt update && sudo apt full-upgrade, then reboot. - Check the processor type with
uname -m. You will seeaarch64on 64-bit systems andarmv7lon 32-bit ones. Software downloads must match this, so a package built only for desktop PCs will not run. - Use a good power supply and a decent SD card or SSD. Brownouts and worn cards cause more random Pi failures than any software.
Install a client for your service
How you connect depends entirely on what your VPN service provides. There are three typical situations.
- The service gives you configuration files for a standard tunnel type such as WireGuard or OpenVPN. Install the matching open-source client from the Pi's package manager and import the file. This is the most Pi-friendly route.
- The service offers an app for Linux. Check the download page for which processor types it supports. The Pi is an ARM board, so an installer made only for x86 PCs will not run on it, and you should not assume otherwise.
- The service offers only apps for phones and PCs. Then the Pi cannot join as a client, and a router or the device apps are better options.
With XPASS, customers connect with the free VPNclient app, and the My Pass page shows the setup instructions and supported connection methods for the pass. Check there before buying hardware for this purpose, and see the Linux setup guide for the desktop Linux steps. Do not rely on a board working with a pass until you have confirmed that your service supports it.
After installing, confirm the tunnel from the Pi itself:
ip -brief address
curl -s https://example.com -o /dev/null -w "%{http_code}\n"
ip route get 1.1.1.1
The route lookup should name the tunnel interface, for example tun0 or wg0, when the tunnel carries all traffic. The page how to test a VPN lists the leak and address checks to repeat once it works.
Turn the Pi into a gateway
If other devices should use the tunnel, the Pi must forward their packets. The structure is: devices on the LAN send traffic to the Pi, the Pi sends it into the tunnel, and replies come back the same way. You need three pieces.
Enable forwarding. Create a file /etc/sysctl.d/90-forward.conf containing net.ipv4.ip_forward=1, then run sudo sysctl --system.
Translate addresses. Packets from your LAN carry private addresses that the tunnel does not know. The Pi must rewrite them to its own tunnel address, which is called masquerading.
Restrict forwarding. Only LAN-to-tunnel traffic should be allowed. This is the kill switch: if the tunnel is down, the interface does not exist, so no allowed path exists and the devices lose connectivity instead of silently leaking.
A minimal nftables ruleset that does both:
table ip nat {
  chain postrouting {
    type nat hook postrouting priority 100; policy accept;
    oifname "tun0" masquerade
  }
}

table inet gwfilter {
  chain forward {
    type filter hook forward priority 0; policy drop;
    iifname "eth0" oifname "tun0" accept
    iifname "tun0" oifname "eth0" ct state established,related accept
  }
}
Replace tun0 with your real interface name, such as wg0. Save it in /etc/nftables.conf, run sudo nft -f /etc/nftables.conf and enable the nftables service so it loads at boot. Because the forward chain has a drop policy, nothing leaves through eth0 to the router by accident. Read what a VPN kill switch is for the principle behind this design.
Point your devices at the Pi
The Pi is only useful once devices actually send traffic to it. There are two ways, and each has trade-offs.
- Manual gateway per device. On a TV, console or laptop, set the network to manual and enter the Pi's address as the gateway and as the DNS server. This affects only the devices you choose, which is exactly what many people want.
- Change it at the router. If the router lets you set the default gateway handed out by DHCP, every device follows the Pi. That is convenient, but it makes the Pi a single point of failure for the whole house, and the router might not support it.
Whatever you pick, think about DNS. If devices keep using the router for name lookups, those queries bypass the tunnel. Either hand out the tunnel's resolver, or install a small resolver such as dnsmasq on the Pi that forwards to the tunnel's DNS. The article on VPN split DNS explains what can go wrong when two resolvers coexist.
Start automatically and recover from failures
A gateway that needs a keyboard after every power cut is not much of a gateway. Make these habits part of the setup.
- Enable the tunnel as a service so that it starts at boot after the network is up. With a systemd-managed client this is a single
systemctl enablecommand. - Add a restart policy so a transient failure does not leave the household offline.
- Set a regular reboot window only if you notice slow degradation, and keep it outside the hours when people stream or work.
- Keep a cheap fallback: a note on the router or a sticky label saying how to switch a device back to the router as its gateway.
- Back up the SD card image after you finish. A cloned card replaces a failed one in minutes.

Limits you should know about
A Pi is a modest computer, and the honest limits matter.
- Throughput. Encryption uses CPU. Newer boards cope well with a typical home line, but older ones and boards on Wi-Fi may become the bottleneck. Measure with a speed test through the tunnel rather than guessing.
- Single point of failure. If the Pi, its power or its card fails, every device that depends on it loses the connection.
- Only the devices you point at it. Phones that roam on mobile data are outside the home setup entirely.
- Not a privacy cure. The tunnel hides your destinations from the local network, but account logins, cookies and browser fingerprints still identify you. See what a VPN cannot protect you from.
- Maintenance. An always-on device needs updates. Schedule a monthly check.
- Service rules. Some streaming, banking and gaming services dislike VPN connections. That is a rule of those services, not a fault of the Pi.
Verify the gateway end to end
Do not trust a setup because the Pi says the tunnel is up. Walk through the whole path from the point of view of a device that uses it.
- On the device, check the network settings show the Pi as the gateway and the DNS server.
- Visit a plain address-checking page and compare the address it reports with the one you see without the Pi. They should differ if the tunnel carries traffic.
- Run a DNS leak check from the device, using the steps in what a DNS leak is.
- Pull the tunnel down on purpose with
sudo systemctl stopfor the client service, and confirm that the device loses connectivity rather than reaching the internet through the router. That proves the forward rule works. - Start the tunnel again and confirm that the device recovers without being restarted.
- Reboot the Pi with the power switched off and on, not only a soft reboot, and repeat steps 1 and 2.
A family example shows why step 4 matters. Pim points the living-room TV at the Pi and sees a different address, so she assumes all is well. A week later the tunnel drops overnight. With a drop policy the TV simply shows a network error in the morning. With an accept policy it would have kept streaming through the plain connection and nobody would have noticed. A visible failure is the better failure.
Common mistakes
- Choosing the server role when you only needed a client.
- Using a package built for a different processor type.
- Forgetting to enable forwarding, then wondering why devices have no internet.
- Leaving the forward policy as accept, so traffic uses the router when the tunnel drops.
- Pointing devices at the Pi but leaving DNS on the router.
- Powering the Pi from a weak phone charger.
- Never testing again after a router change.
Summary
Decide first whether the Pi is a client, a gateway or a server. For the client and gateway roles, prepare a clean Lite install on Ethernet with a fixed address, install the client method your VPN service supports, enable forwarding with strict nftables rules and point selected devices at it, including DNS. Test with the same checks you would use anywhere, and keep in mind the limits on speed, availability and privacy.
If you want to see what a pass includes before planning hardware, the pricing page has the details, and the My Pass page lists the supported connection methods once you have one.
Frequently asked questions
Can a Raspberry Pi act as a VPN for every device at home?
Yes, a Pi can work as a gateway that forwards the traffic of other devices through a tunnel, if those devices use the Pi as their default gateway. It then shares the Pi's own CPU and network port, so older models will be the limit before your internet line is.
Which Raspberry Pi model do I need?
For a single client or a few family devices, a Pi 3, 4 or 5 with a wired connection is a comfortable choice. Very small boards with slow Wi-Fi can work but will cap throughput well below a modern home connection.
Is the Pi a client or a server in this setup?
It depends on the role you choose. As a client it connects out to a VPN service. As a gateway it is a client that also forwards other devices' traffic. As a server it accepts connections from your own devices, which is a different project.
Do I need a kill switch on the Pi?
If the Pi forwards traffic for other devices, yes. A forwarding rule that only allows the LAN to reach the tunnel interface means traffic stops instead of silently using your normal connection when the tunnel drops.
Can I use a commercial VPN service on the Pi?
It depends on the connection methods your service offers. Look at the setup information from your provider first. With XPASS, the My Pass page shows the supported connection methods for your pass.
References
About the author

Bob Kanokphon Thongdee
- Founder of XPASS VPN
- Co-founder of eSIMonline.asia
- More than 7 years in online marketing
- Founder of Cojourney Visa and Cojourney Travel
Need a VPN for a short trip or a busy month?
XPASS sells prepaid passes for a set number of days. You pay once and nothing renews automatically.
See passesKeep reading

VPN Basics
VPN Router vs VPN App: Which Setup Fits Your Home?
Should you install a VPN on the router or on each device? This guide compares the two setups for speed, smart home gadgets, mesh Wi-Fi, split tunneling and everyday convenience.
10 min read

Buying Guides
Self-Hosted VPN vs Commercial VPN
A home server and a commercial service solve different problems. Compare a Raspberry Pi or NAS VPN with a ready-made one, including CGNAT, upkeep and security.
9 min read

VPN Security
What Is a VPN Kill Switch?
A kill switch stops your device from quietly falling back to an unprotected connection when the VPN drops. Here is how the idea works and how to check it.
12 min read

VPN Security
How to Test a VPN: Leaks, Speed and Kill Switch
A VPN is only useful if it does what it claims. This guide shows how to test any VPN yourself: leaks, kill switch, speed, latency, IPv6 and the app's own behaviour.
9 min read

VPN Basics
What Is a VPN Tunnel? A Simple Explanation
A VPN tunnel is not a place but a method: your data is wrapped inside other data and carried to the VPN server. See the anatomy, the life cycle and the limits.
9 min read