
OPNsense VPN Guide for Home Networks
A home-focused guide to OPNsense and VPN: design the household first, then follow the gateway, NAT and rule steps, and keep the setup healthy over time.
9 min readUpdated Oct 15, 2026By XPASS Editorial Team
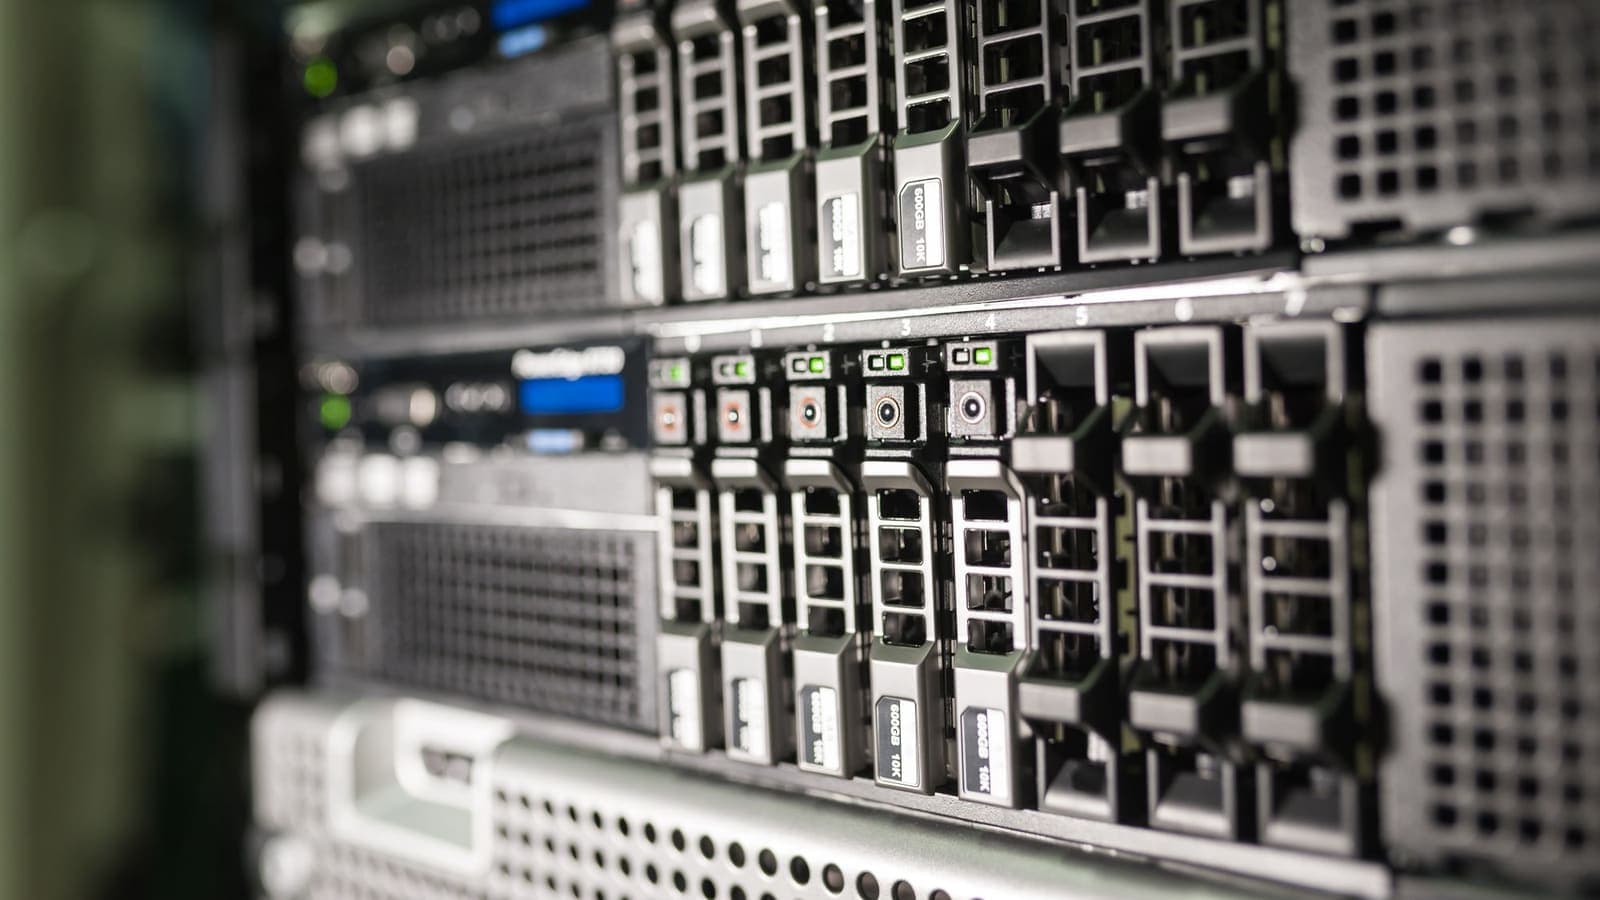
OPNsense is an open-source firewall and router platform that many households use when a consumer router starts to feel limiting. It runs on a small fanless PC or a dedicated box, it is managed through a web page, and it offers features such as VLANs, detailed firewall rules and several VPN technologies. For a home network, the interesting question is not "how do I click through the menus" but "which parts of my household should use a VPN, and how do I keep that arrangement reliable?"
This guide takes that home-first view. We start by designing who and what goes through the tunnel, then walk through the configuration in the order OPNsense expects, then cover DNS, updates, backups and testing. Menu names change between releases, so treat the steps as a map, not a script. If you have not yet compared a firewall with simple apps, VPN router vs VPN app is a good starting point.
Start with a household map, not with menus
Before touching OPNsense, write down what lives on your network. A typical home has more categories of device than people expect, and each one deserves a decision.
| Device group | Examples | Sensible choice |
|---|---|---|
| Work machines | Laptop, home-office PC | Through the tunnel if work rules allow; often better left to the employer's own VPN |
| Entertainment | Smart TV, streaming stick, console | Through the tunnel if you want it; may dislike VPN connections |
| Phones and tablets | Family devices on home Wi-Fi | App on the device, or tunnel, but not both |
| Smart-home gadgets | Cameras, doorbells, plugs | Usually plain connection, so they stay reachable |
| Guests | Visitors' phones | Separate guest network, plain connection |
| Servers and printers | NAS, printer | Local only; never through the tunnel |
Two lessons come from this table. First, "everything through the VPN" is rarely the best answer for a home. Gadgets that you control from an app while away from home can stop working, printers can become unreachable and some banking or video services may complain. Second, a device should have one VPN path, not two. A phone that runs a VPN app on top of a firewall tunnel adds a second layer of encryption and can cause odd failures.
Draw your decisions as networks: for example "trusted", "tunnelled", "gadgets" and "guest". This drawing becomes your VLAN or subnet plan. If your switches and access points do not support VLANs, you can still do the same thing by routing individual addresses.
A worked example: the Rivera household
To keep things concrete, imagine a family of four in a flat. Marco works from home two days a week, Lina studies, the children use tablets, and there is a living-room TV plus a few smart plugs.
- Marco's work laptop connects to his employer's own remote access, so it stays on the "trusted" network and the firewall does not touch it.
- The TV, two tablets and Lina's laptop go onto a "tunnelled" Wi-Fi network. Everything there leaves through the VPN.
- Smart plugs and a doorbell sit on a "gadgets" network with the plain connection and no access to other networks.
- Visitors join "guest", which is isolated and unencrypted by the VPN.
Four networks, one tunnel, three firewall rules that matter. Nobody has to install or remember anything on a tablet, and if the family stops needing the VPN, they delete one rule. That is the real strength of doing it on OPNsense.
Hardware and software sizing for homes
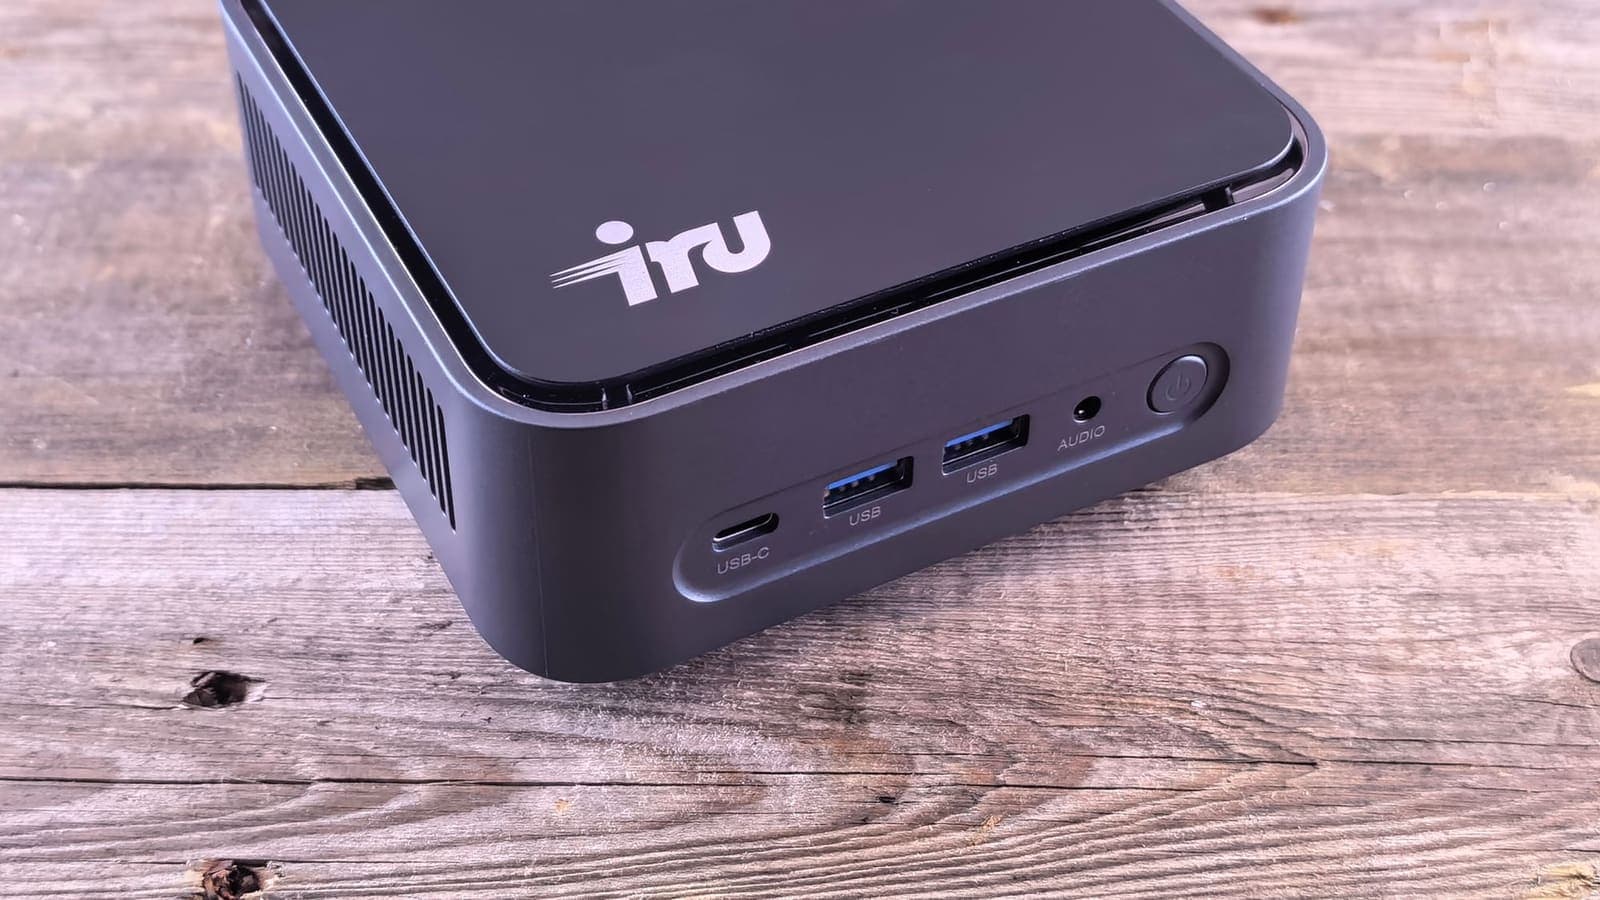
A VPN adds encryption work. For a modest home line, a small modern box with a CPU that supports AES instructions is normally comfortable. For a fast fibre connection where you route many devices through a tunnel, expect the processor to matter. Test with a speed check while watching CPU load: if one core sits at its limit during a transfer, that is your ceiling.
Keep the system itself healthy:
- Use a stable, supported release and read the notes before major upgrades.
- Give the box a dedicated, labelled power supply and, if possible, a small UPS so a power flicker does not corrupt the configuration.
- Keep at least two copies of the configuration backup, one on a computer and one somewhere else.
Building the tunnel, in order
The OPNsense workflow follows the same logic as other firewalls: credentials, tunnel, interface, gateway, NAT, rules. Your VPN service decides what kind of tunnel you can make, so read its instructions first. For an XPASS pass, the My Pass page shows the supported connection methods and setup instructions, and you should not assume a particular protocol.
- Get your tunnel details. Download any configuration file, certificate or key from your provider and store it safely. Do not edit key values.
- Add the client. In the VPN section, create a client entry for the type of tunnel your service provides. Enter the server address, port and credentials exactly as given. If you are unsure about the technology, WireGuard vs OpenVPN explains the common families in plain language.
- Assign an interface. Under Interfaces, then Assignments, add the new tunnel device, enable it and name it clearly, such as "VPN_OUT". Leave the addressing at "None" unless your provider gives you a tunnel address to set.
- Create the gateway. Add a gateway for that interface and set a monitor address that answers through the tunnel. Do not make it the default gateway; the plain internet connection must stay the default.
- Switch outbound NAT to hybrid and add a rule that translates your tunnelled network's addresses when traffic leaves through VPN_OUT. Home networks use private address ranges that the VPN network cannot reply to without translation.
- Add the firewall rule on the tunnelled network's interface that allows traffic and sets the VPN gateway. Put a rule above it that lets that network reach local resources you want to keep (for example a printer on the trusted network) if you choose to allow that.
If you use VLANs, steps 5 and 6 are done once for the "tunnelled" VLAN. If you route by address instead, create an alias containing the chosen addresses, reserve those addresses with static DHCP leases and use the alias as the rule's source. For the concept behind this, see what split tunneling is.
DNS decisions for a household
DNS deserves its own thought at home, because families use many devices that decide for themselves where to send queries.
- Tunnelled network. Hand out DNS servers that are reachable through the tunnel, and add a rule that stops devices on that network from using any other resolver. Otherwise your lookups can still travel through your home internet provider.
- Trusted and gadget networks. Leave these on your normal resolver. Smart-home devices in particular may stop working if their DNS is moved.
- Local names. If you rely on names such as "nas.home" for local devices, make sure the resolver that tunnelled devices use can still answer them, or those names stop working. The article on split DNS explains why this happens.
- Devices with built-in encrypted DNS. Some TVs and browsers ignore the DNS your network hands out. Test every device type once.
A simple way to check is to open a DNS leak test from a tunnelled device and make sure the resolver shown is the one you chose.
Keeping the setup reliable
A home firewall is not a set-and-forget appliance. These habits keep it dependable.
- Back up after every change that works. Export the configuration and name the file with the date.
- Update on a schedule. Pick a quiet evening each month to check for updates, with the backup done first.
- Know your fallback. If the tunnel goes down, what should the tunnelled network do? You can fail closed, with no internet until the tunnel returns, or let those devices use the plain connection. For privacy-minded setups, fail closed is the safer choice, but family members need to be told why the TV stopped. See what a VPN kill switch is for the idea.
- Test after power cuts. Reboot the box on purpose once, and confirm the tunnel returns by itself.
- Document the layout. A one-page note listing networks, VLAN numbers, addresses and rule purposes helps you, or a helpful relative, find a problem months later.
Testing the finished home setup
Walk through this list with a phone on each network.
- On the tunnelled network, a public IP check shows the VPN's address.
- On the trusted and gadget networks, it shows your home address.
- A DNS leak test on the tunnelled network shows the resolver you intended.
- A large download on a tunnelled device completes without stalling. If it stalls while small pages load, lower the tunnel's MTU or enable MSS clamping.
- Local printing from the network that is allowed to print still works.
- Disable the tunnel on purpose and see whether the tunnelled network fails closed or falls back, whichever you chose.
- Restart the firewall and watch the tunnel recover.
When things go wrong
| Symptom | First thing to check |
|---|---|
| Tunnel is connected but tunnelled devices have no internet | Outbound NAT for the tunnelled network on the VPN interface |
| Gateway shows pending forever | Monitor address; tunnel handshake status |
| Whole house is slow | Whether the default gateway was changed by mistake |
| One TV app refuses to play | That service may dislike VPN connections; move the TV to the plain network |
| Smart plug cannot be reached from its phone app | It sits on the tunnelled network; move it to the gadget network |
| Works for a day, then stops | Tunnel keepalive or provider-side session limits; check provider guidance |
| Speeds poor at night only | Congestion on the route; try another location in your VPN app list |
If an issue persists, improving VPN connection stability lists steps that apply to any device or router.
Limits worth knowing
A firewall tunnel protects traffic between your home and the VPN server. It does not protect against phishing, weak passwords or malware on a device. It does not change what websites and apps know about you through accounts and cookies. It does not make anyone anonymous, and it does not override a service's own rules about VPN use. Travelling devices gain nothing from your home tunnel once they leave the house, so keep an app on the laptop or phone you carry. The free VPNclient app that XPASS customers use is described on the download page, and it works with the username and password on your My Pass page.
Two networking footnotes can confuse beginners. If your internet provider puts many customers behind shared carrier-grade addressing, using addresses in the shared range defined in RFC 6598, you cannot easily host incoming connections at home. That affects the server role, not a client tunnel like the one described here. And if your ISP gives you IPv6, make sure the tunnelled network does not quietly use it outside the tunnel; either route IPv6 through the tunnel too or turn it off on that network.
Summary
A good OPNsense VPN setup starts with a household map: which devices go through the tunnel, which stay plain and which stay local. Build the tunnel in order (credentials, client, interface, gateway, NAT, rule), handle DNS and IPv6 deliberately, decide how the network should behave if the tunnel fails, and back up what works. Test from every network, and keep apps on the devices you carry outside.
If you would like to compare a simple prepaid option with a firewall project, the pricing page is there at your own pace.
Frequently asked questions
Is OPNsense a good choice for a home VPN setup?
It can be, if you are comfortable learning firewall concepts. It gives you per-device and per-network control that a consumer router rarely offers, but it needs regular updates and a little patience. If you only want one phone and one laptop protected, apps are simpler.
Do I need VLANs to use a VPN on OPNsense?
No. You can route chosen devices by address. VLANs make the design tidier because one rule covers everything on that network, but they also need switches or access points that support them.
Why is my VPN gateway shown as pending or offline?
Usually the monitor address cannot be reached through the tunnel, or the tunnel itself has not completed its handshake. Check the tunnel status first, then change the monitor address to one that answers inside the tunnel.
Will the VPN slow down my whole home network?
Only the traffic you route through it is affected. A weak CPU or a distant location can lower speed for those devices, while the rest of the house keeps using the plain connection.
How often should I update OPNsense?
Check for updates regularly, read the release notes before applying a major one, and take a configuration backup first. A firewall that is never updated becomes a risk in itself.
References
About the author

Bob Kanokphon Thongdee
- Founder of XPASS VPN
- Co-founder of eSIMonline.asia
- More than 7 years in online marketing
- Founder of Cojourney Visa and Cojourney Travel
Need a VPN for a short trip or a busy month?
XPASS sells prepaid passes for a set number of days. You pay once and nothing renews automatically.
See passesKeep reading

VPN Basics
VPN Router vs VPN App: Which Setup Fits Your Home?
Should you install a VPN on the router or on each device? This guide compares the two setups for speed, smart home gadgets, mesh Wi-Fi, split tunneling and everyday convenience.
10 min read

VPN Security
What Is Split Tunneling?
Split tunneling lets you choose which apps or sites use the VPN and which go straight to the internet. It is flexible, but it also changes what is protected.
9 min read

VPN Security
Split DNS with VPNs: What It Means
Split DNS lets a device ask one resolver about private names and another about everything else. Here is how it works, where it helps, and how to check it.
9 min read

VPN Security
WireGuard vs OpenVPN Explained
WireGuard and OpenVPN both build encrypted tunnels, but they differ in design, complexity and flexibility. Here is a plain comparison and how to think about the choice.
9 min read

Buying Guides
Using a VPN on Multiple Devices: What to Check
One VPN for a phone, a laptop and a household sounds simple, but providers count devices in different ways. Here is what to check, how to share safely and how to avoid surprises.
9 min read